Tuesday, February 28, 2012

House Visit: Wrapping Things Up


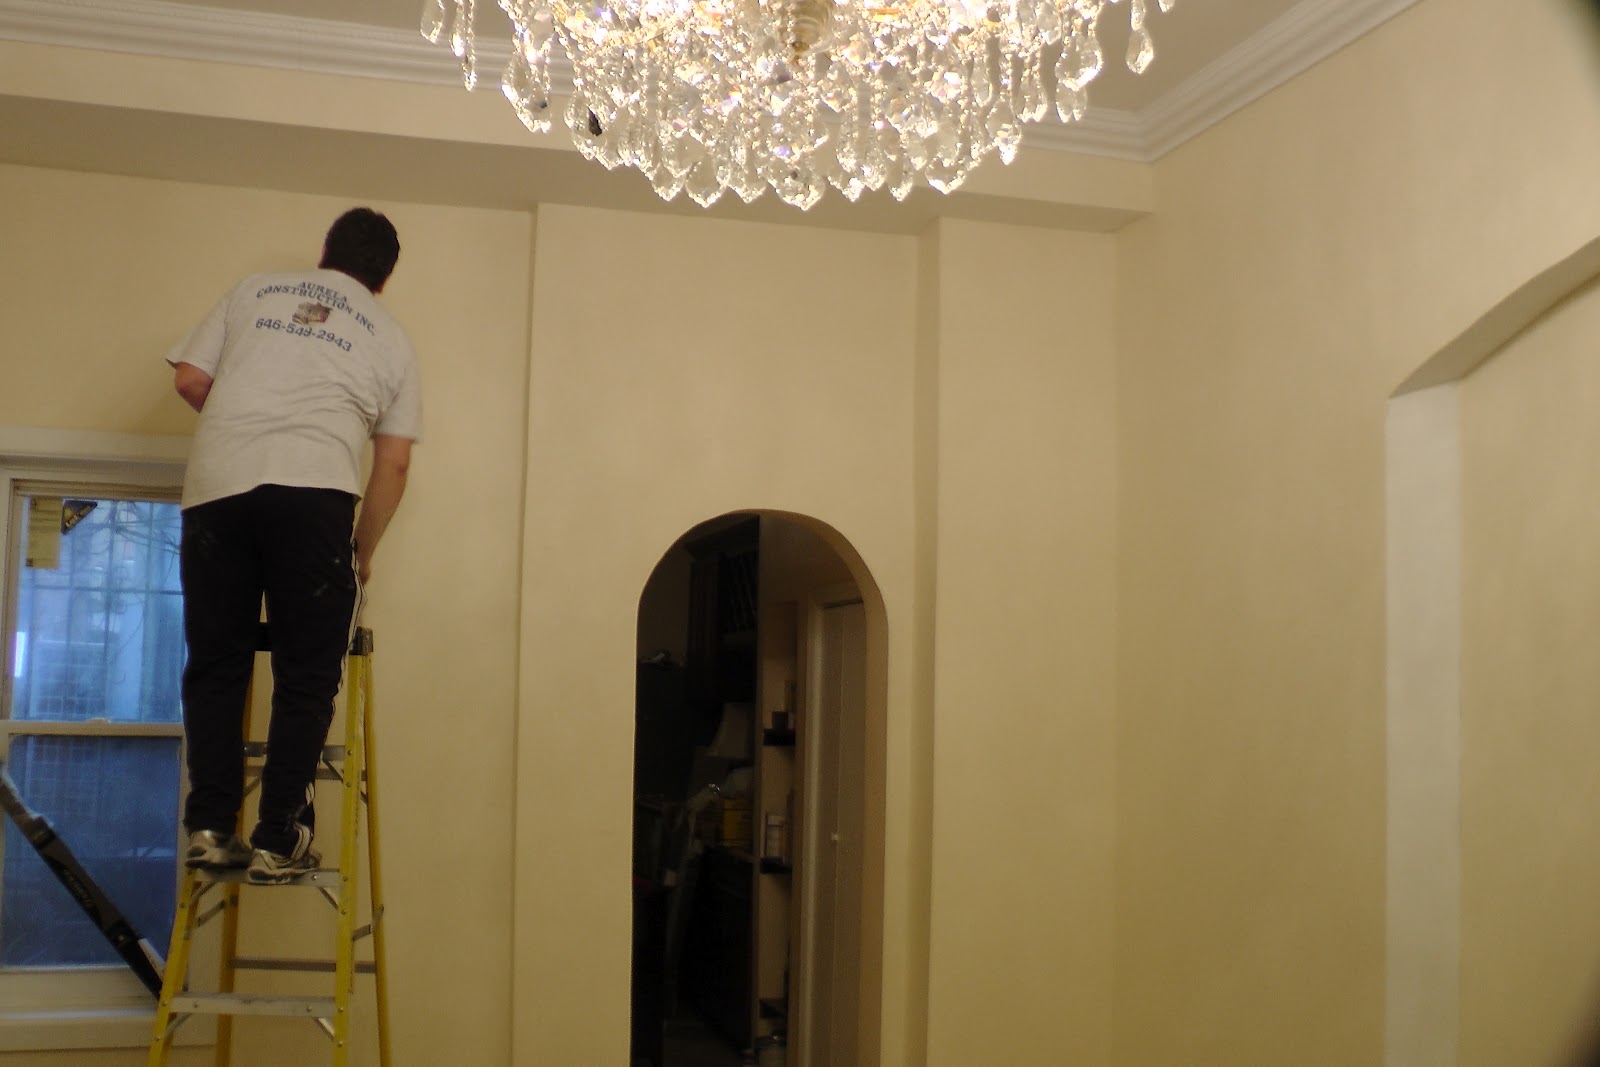
What a difference a few weeks can make. We're in the home stretch on the house that we were working on a few weeks ago, where we were stuck in vanity mirrors, countertops and cabinets. Well, as you can see, most of these hurdles have been cleared and we're finishing up the last few bits of work, including the countertop and faucet for the vanity, as you will see below.


We're also still waiting on the installation of the back splash but otherwise, the kitchen is all but done. The countertops are granite and I personally love how the swirls of reddish brown in the stone accent the orange of the divider and the dark browns of the cabinets. We finished the wood-paneled pocket for the stainless steel refrigerator and the grout on the porcelain tile flooring. We modified the cabinets above the cook top and installed the undercounted stainless steel sink, as well. 


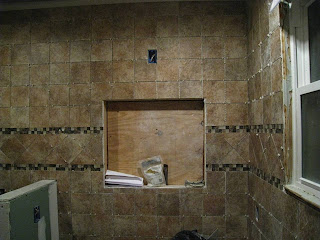
Like I said, we're still waiting on the granite countertops in the bathroom and the bowl sink but overall, I'm really happy with how this turned out, and the customer has been very flattering about the entire project. More later this week. 

Thursday, February 23, 2012

Job Visit: New Shades


We went out on a paint job today and I thought it'd be good to get some practice in as I have been slacking on the photos from other sites; this will be rectified. This was a pretty generic paint job on a nice apartment in midtown, around Lexington Ave., medium-sized room with just some minor spackle work and repairs. Not a huge show-off project but it was nice to get some photos up on here and get some of our more unsung workers on camera. And check out that awesome chandelier!


Tuesday, February 21, 2012

A Customer Testimonial


Hey everybody! We were able to cut a clip from a set of upcoming customer testimonials we recorded earlier this month. They all came out really great and they'll all be on the site (www.clickandimprove.com), YouTube and this blog eventually but we wanted to show what we've been working on a bit. This is one of our first customers, Gladys. Enjoy!

Wednesday, February 15, 2012

Shower Power


We’ve been dealing with a bit of shower drama the last few days, but things to be on the right track, quite literally. We spent most of today measuring and cutting track and getting everything ready to install with ze caulk. As you can see by the pictures below, we’ve finished a great deal of the electrical work in the bathroom, including three outlets and a light switch. And yet, negotiations on what exactly we’re going to do with the vanity are still ongoing, making the choice of lighting in that particular area a bit of a sore thumb.


Still, I’m very excited how the tiles came out and the fixtures we have for the shower itself are on their way. An original concept had us adding a soaking tub to the side of the shower but those plans were abandoned upon further investigation of the budget we were working with. Plus, I’ve always enjoyed an open bathroom with space to spare, and that looks like what we’ll have at the end of this project. We’re also finishing up the divider tonight, if all goes according to plan. I will put up more information and pictures as I can get to them, ladies and gents. 


Monday, February 13, 2012

Home Visit: Step-by-Step in the Kitchen


As I mentioned last week, we’re working on a kitchen as well as a bathroom in the house that we’re currently working on. We’ve honestly just started the groundwork for the kitchen but I thought they were worth a look. As in the bathroom, we used mud setting underneath the tiling for the floors and have yet to finish the grouting completely. 


The room has a doorway entrance as well as an open entrance with divider coming off of a planned dining room that is nearly finished. You can see the paint tests being done in the dining room area and the dangling light that makes it look almost like where you would perform an interrogation. You can also see all the tiresome spackling that went on over the studs, the electrical work and, below, some of the plumbing going on underneath.


We’re still waiting on a word of what exact kind of oven will be put in but other wise, the plan for the room is set. I’ll be able to go into more detail once the countertops and shelves have been put in and are worth a look. But I am happy that this customer decided on a garden window, which is an amenity I’ve always enthusiastically suggested to customers. They always brighten up the room and I love the sense of extra space you get from them; perfect place for cactuses and other smaller plotted plants to give your room some more personality. Once these rooms have more personality themselves, I’ll be sure to post here.   


Thursday, February 9, 2012

House Visit: My Name is Mud


We’ve been working on a house in the outer boroughs this past week, remodeling both a kitchen and bathroom from scratch. We were lucky enough to start with a blank slate and allowed to just go in and work with the homeowner on the design. The bathroom was the more urgent job in this situation, as you might expect – you can always order in, but you can’t always use your neighbor’s shower.


As you can see below, we just finished laying the tile in the bathroom and are awaiting the drying process to finish up before we get into the grout. You’ll see the separators keeping the tiles even in some of these pictures. We opted for mud setting over wonder board on this job, which is best for any tile work. A wonder board setting will often lead you to more cracks in your tiles and a lack of even pitching all around. The mud setting, for those who don’t know, is essentially a layer of cement with wire mesh and tends to make for solid, long-lasting floors in bathrooms especially.


We’re also waiting on some decisions to be made regarding the vanity mirror. As you can see, we already have made the recess but, to be completely honest, the vanity tends to be the least urgent part of the job in situations like this, as it is one of the few things where plumbing is not directly involved. Still, it would nice to get this done in the upcoming week and get some pictures on here of the finished project. Will update soon with under-construction kitchen work. Also, check out these tiles! Not too shabby, ay?    

Friday, February 3, 2012

On Paint Jobs - Kitchen Cabinet Doors


Today’s subject comes to us thanks to my cousin’s college roommate, who just recently bought a home upstate and sent me a kind e-mail telling me about some projects he was thinking about undertaking. Being a chef, most of his major wants surround the kitchen and his first idea was to repaint his kitchen cabinet doors before putting on a set of designs; we spit-balled and decided that cooking utensils and accessories would make a great theme.

Removing the doors with a screwdriver is, of course, the first step. If the cabinets are unvarnished, you can begin by wiping down the cabinet with a sponge and cloth to remove any dirt and specks; if it is varnished, sand down the door until the finish has been dulled and then wipe it down. In the case of my friend, it would be best to do the painting first and the stencil or design afterwards, especially if you’re still in the midst of making the stencil design.

Lay down some drop clothes and get to painting. Stained cabinets should be prepped with an oil-based primer, whereas bare wood works best with latex-based primers; it’s also suggested to use a synthetic polyester paintbrush while working with oil-based primers. To ensure a good finish, make sure you only apply a thin coat of primer to your chosen door(s), as using too much primer will likely cause a lackluster finish. Let the primer dry for a few hours and then get your paint buckets out.

For more open, sunlit kitchens, lighter colors (whites, yellows, light blues and greens) are usually recommended but I’ve seen some really excellent distinct connections that favor darker colors; a very close friend went cherry red with his cabinets and wooden countertops, despite my constant pleas for him to get black or dark laminate countertops. In the summer months, you could paint outside but in the winter, a well-sealed garage, basement or open living room is best for this sort of work. I await pictures of my friend’s cabinets (he’s putting a frying pan and a plate on two of them, respectively) and will post them here promptly after receiving them.